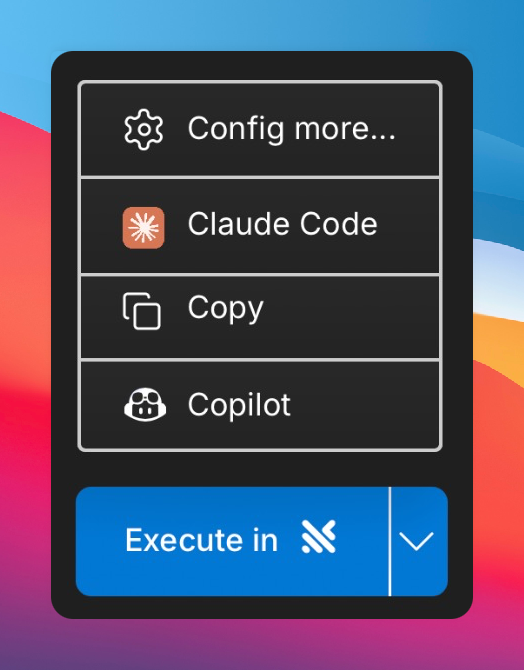
Supported agents
The following agents work seamlessly with Traycer Tasks:- Custom CLI Agents
- Cursor
- Claude Code CLI
- Claude Code Extension
- Windsurf
- Antigravity
- Augment
- Cline
- Codex CLI
- Codex Extension
- Gemini CLI
- KiloCode
- RooCode
- Amp
- ZenCoder
YOLO Mode compatible: Agents marked with support automated execution with YOLO Mode. Other agents require manual interaction. More agents are coming soon. If your preferred agent isn’t listed, please contact us at [email protected].
Export options
You can also export the prompts as markdown or copy them directly:- Copy - Copy the prompts directly to your clipboard for immediate use with any AI coding agent. (Always available in the execute dropdown)

- Export as markdown - Generate a clean markdown file containing your complete prompts that can be shared with any AI coding agent or used as documentation.
Need more control? You can create Custom CLI Agents with custom arguments and permissions for any CLI-based coding agent.
Adding additional agents
1
1. Go to Traycer settings
Click the gear-shaped icon on the top right in Traycer’s sidebar.
2
2. Find Additional agents section
Scroll down below and find the “Additional agents” settings section.
3
3. Click Add item
Click the “Add item” button to add a new agent configuration.
4
4. Select and configure
Select the agent from the dropdown list and click “OK” to save the configuration.